For this piece, I wanted to create a strong figure to represent the leader of the circus. I wanted him to be welcoming yet menacing, an entertainer but also a man that holds many secrets. The ringmaster with a past clouded by mystery. I hope some of you think that I succeeded in my vision. I ran into many bumps along the road but I am pretty please with how he turned out. Enjoy the following progress pictures and commentary documenting the construction of... THE RINGMASTER!
I started off as usual with two pinch pots shaped into the form of a head, adding depressions for the eye sockets and a rough nose.
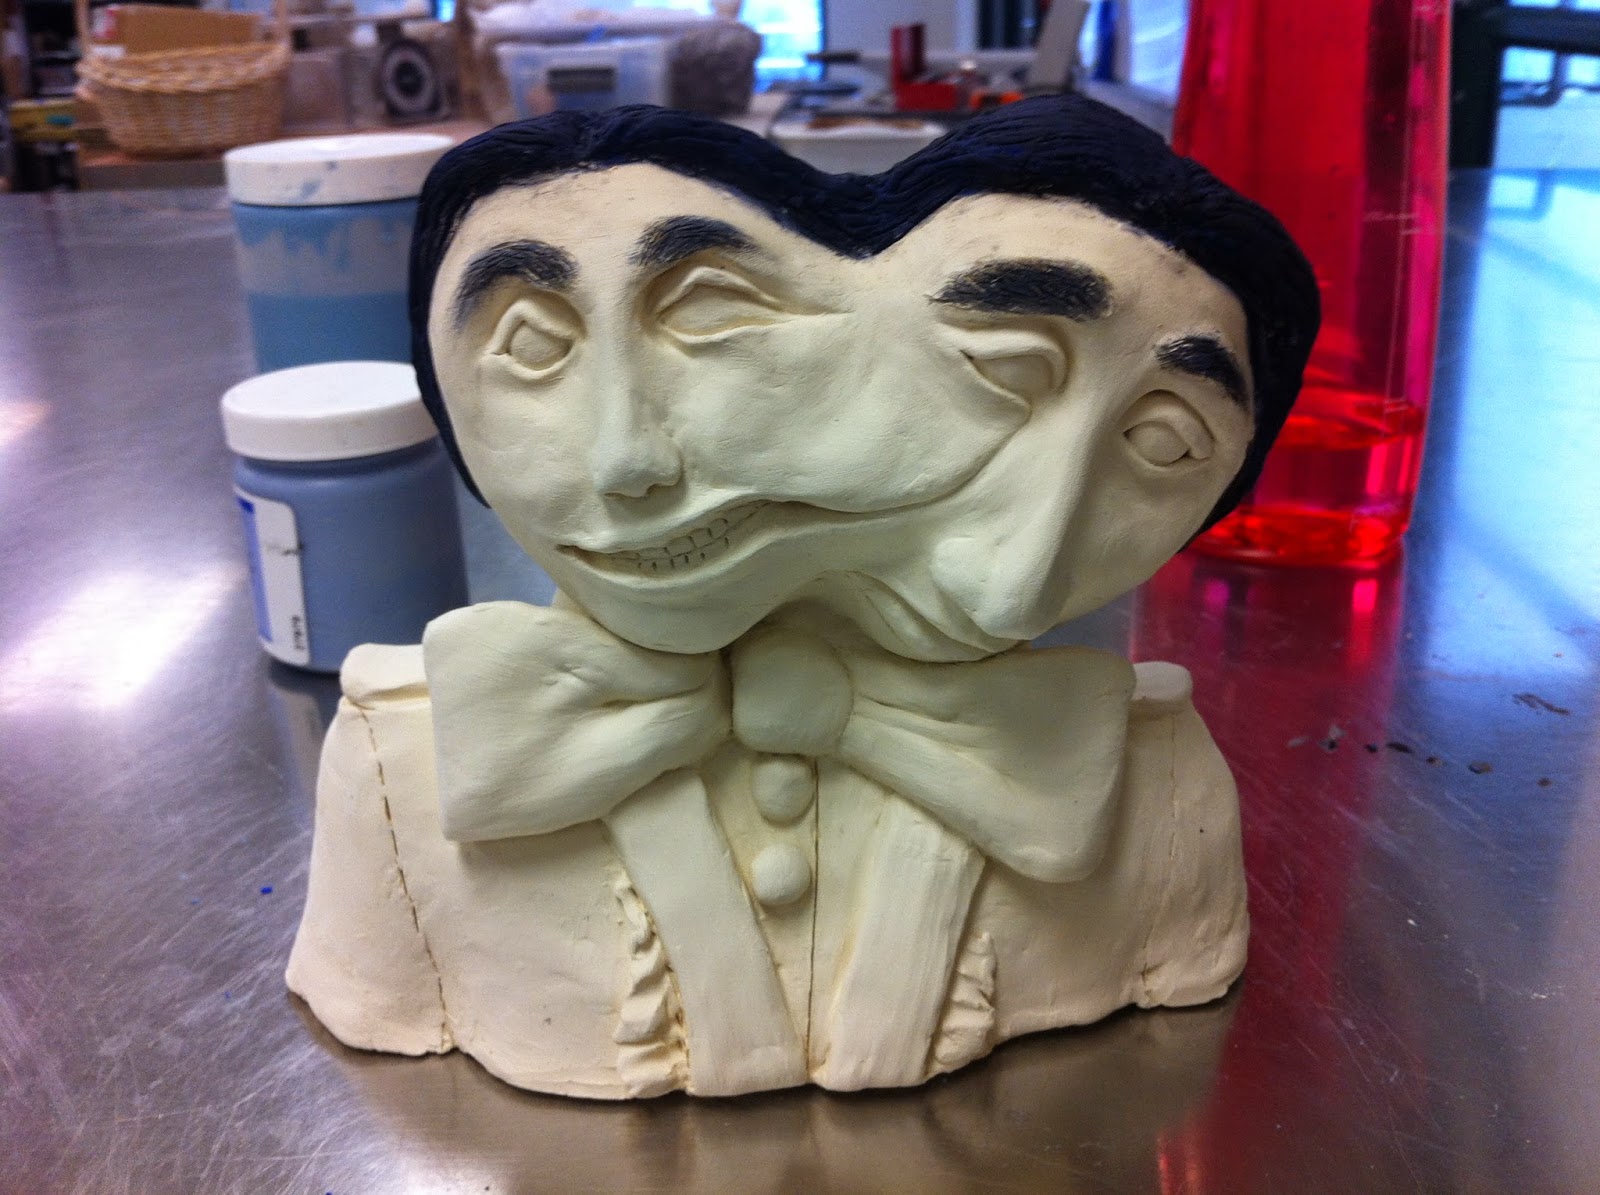
I wanted him to have a wide, yet fake grin that a conman might have when presenting his latest scam. It started off as a closed-tooth smile but later developed into an open mouthed one.
I began the painstaking process of sculpting the eyes. I also add more details to the mouth and nose, added more fat and skin to his cheeks and chin and filled in one of his eye sockets.
I then added a turban because I wanted him to have mysterious origins while being exotic and eccentric.
I played around with some facial hair and took a liking to his bushy eyebrows. At this point I noticed that his eyes looked a little sleepy and I also started running into problems with the weight of his massive turban. But the real issues didn't begin until....
... I had to carve out his innards: the most stressful part of sculpting any bust. It is necessary in order to avoid explosions by air bubble but it is oh so tedious and I can never manage to not poke a hole through the eyes!!!
After taking much too long to even out the inside of his head and turban, I reattached him and added a neck and shoulder-chest piece. I spent a good week just trying to strengthen his body to support the weight from his turban but all in vain because his head was FALLING OFF HIS BODY so eventually I got so fed up from the whole process that I decided to...
RIP IT OFF MWAHAHAHAHAHAHAHAHA
I swear, one of my classmates screamed when she saw his face with literally no cranium behind him and a lifeless clay turban in my hands.
Having learned from my mistakes, I decided to build a smaller, neater turban out of coils and only make it a facade turban so to avoid any unnecessary weight on the back of his head.
I added a more refined jewel sculpt right above his forehead and stuck a small paint brush behind it to save space for a large feather that will be added after glazing. I had fun with his facial hair and for his clothes I decided he would wear a sort of embroidered tunic with a flower pattern on the collar.
I am happy with the pre-kiln look of it but I do hope that glazing the eyes will help awaken him a bit. Until next time!