Friday, April 10, 2015

Concentration V: The Ringmaster - Construction


For this piece, I wanted to create a strong figure to represent the leader of the circus. I wanted him to be welcoming yet menacing, an entertainer but also a man that holds many secrets. The ringmaster with a past clouded by mystery. I hope some of you think that I succeeded in my vision. I ran into many bumps along the road but I am pretty please with how he turned out. Enjoy the following progress pictures and commentary documenting the construction of... THE RINGMASTER!


I started off as usual with two pinch pots shaped into the form of a head, adding depressions for the eye sockets and a rough nose. 

I wanted him to have a wide, yet fake grin that a conman might have when presenting his latest scam. It started off as a closed-tooth smile but later developed into an open mouthed one. 


I began the painstaking process of sculpting the eyes. I also add more details to the mouth and nose, added more fat and skin to his cheeks and chin and filled in one of his eye sockets. 


I then added a turban because I wanted him to have mysterious origins while being exotic and eccentric. 


I played around with some facial hair and took a liking to his bushy eyebrows. At this point I noticed that his eyes looked a little sleepy and I also started running into problems with the weight of his massive turban. But the real issues didn't begin until....


... I had to carve out his innards: the most stressful part of sculpting any bust. It is necessary in order to avoid explosions by air bubble but it is oh so tedious and I can never manage to not poke a hole through the eyes!!!


After taking much too long to even out the inside of his head and turban, I reattached him and added a neck and shoulder-chest piece. I spent a good week just trying to strengthen his body to support the weight from his turban but all in vain because his head was FALLING OFF HIS BODY so eventually I got so fed up from the whole process that I decided to...


RIP IT OFF MWAHAHAHAHAHAHAHAHA

I swear, one of my classmates screamed when she saw his face with literally no cranium behind him and a lifeless clay turban in my hands.


Having learned from my mistakes, I decided to build a smaller, neater turban out of coils and only make it a facade turban so to avoid any unnecessary weight on the back of his head. 


I added a more refined jewel sculpt right above his forehead and stuck a small paint brush behind it to save space for a large feather that will be added after glazing. I had fun with his facial hair and for his clothes I decided he would wear a sort of embroidered tunic with a flower pattern on the collar. 

I am happy with the pre-kiln look of it but I do hope that glazing the eyes will help awaken him a bit. Until next time! 


Concentration VI: The Clown - Construction

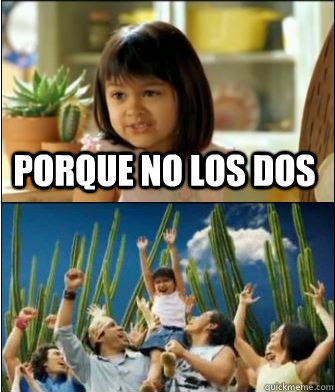
I was so excited to finally be able to sculpt the classic, ubiquitously terrifying symbol of the circus: a clown! Evidently, a challenge arises when trying to recreate a character that has been seen over and over again. Should I make him scary? Cute? Funny? Gory? I honestly couldn't even decide between making him happy or sad... and then I watched a taco commercial and thought... porque no los dos?


I decided to sculpt a sad clown but then glaze a happy one. The idea is that in order to keep his job, The Clown has to at least give off the illusion of cheerfulness so he wears happy face paint despite his depressed state. I have come up with back stories and histories of all my concentration pieces so once I'm done with them all, I might make a back story post describing how they are all interconnected. So stay tuned if you want to know why The Clown is so sad!

But I digress.

To start off, I had to turn to only the best model in the business, my classmate Peter.


Dat face tho. 

After attaching two pinch pots and adding in rough basic features, I put in additional details and wrinkles to intensify his expression.


He has a very oddly shaped head and strange saggy cheeks but I like all the weirdness so I kept it as it was for the most part. 


Every sad clown needs a neck!


I added his shrugged shoulders and started the construction of flower petals for his costume. 


I wanted him to be as pathetic as possible so I thought a flower collar would add to the humiliation that he undoubtedly faces everyday, which helps explain his demeanor. I think that any sad clown needs a small, sad hat. That is undeniable. I also sculpted disproportionately small ears and began laying down some coils in order to construct his puffed sleeves. 


This is a photo of him after all the finishing additions were done. I still hadn't smoothed him out with a watered paint brush at the point that this picture was taken but you get the point. 

And so without much further ado... The Clown!


Sunday, March 1, 2015

Concentration IV: The Trapeze Artist - Construction


For my fourth concentration, I really wanted to create sculpture that was anatomically accurate, very smooth and refined, dynamic in its positioning, and one that could be shot at all angles. I also wanted to add something that I had never sculpted before: a hand. The idea was that I would sculpt the beautiful trapeze artist and that she would be looking into a mirror while putting on lipstick so that the portfolio photo could be taken to show her back and her front. 

Here are the pictures of the long construction of this bust:


I attached the two pinch pots as usual but I didn't add enough newspaper so I had to open it up again and animate the character that ensued. 


I added some clay for the chin, nose, and lips.


^^ I am the Derek Zoolander of the sculpture modeling world. 


Teehee look at the funny booger mustache that I made hehehehehe just kidding that was actually a necessary step in order to add some fat to her upper lip. Her lips still need work in this photo.


I then started the painstaking process of adding eyes, which always takes me several tries.


As you can see, her face was not doing so well.


I kind of fixed her eyes and her lips were close to what they were supposed to be but she still needed more forehead and a smaller nose. I added under eyebrow fat above her eyes, which I think helped make her look more human.


I added more cheekbones, thinned out her nose, and fixed her eyes a little more. 


INNARD REMOVING TIME!!


And obviously I poke a gaping hole through her face... classic.


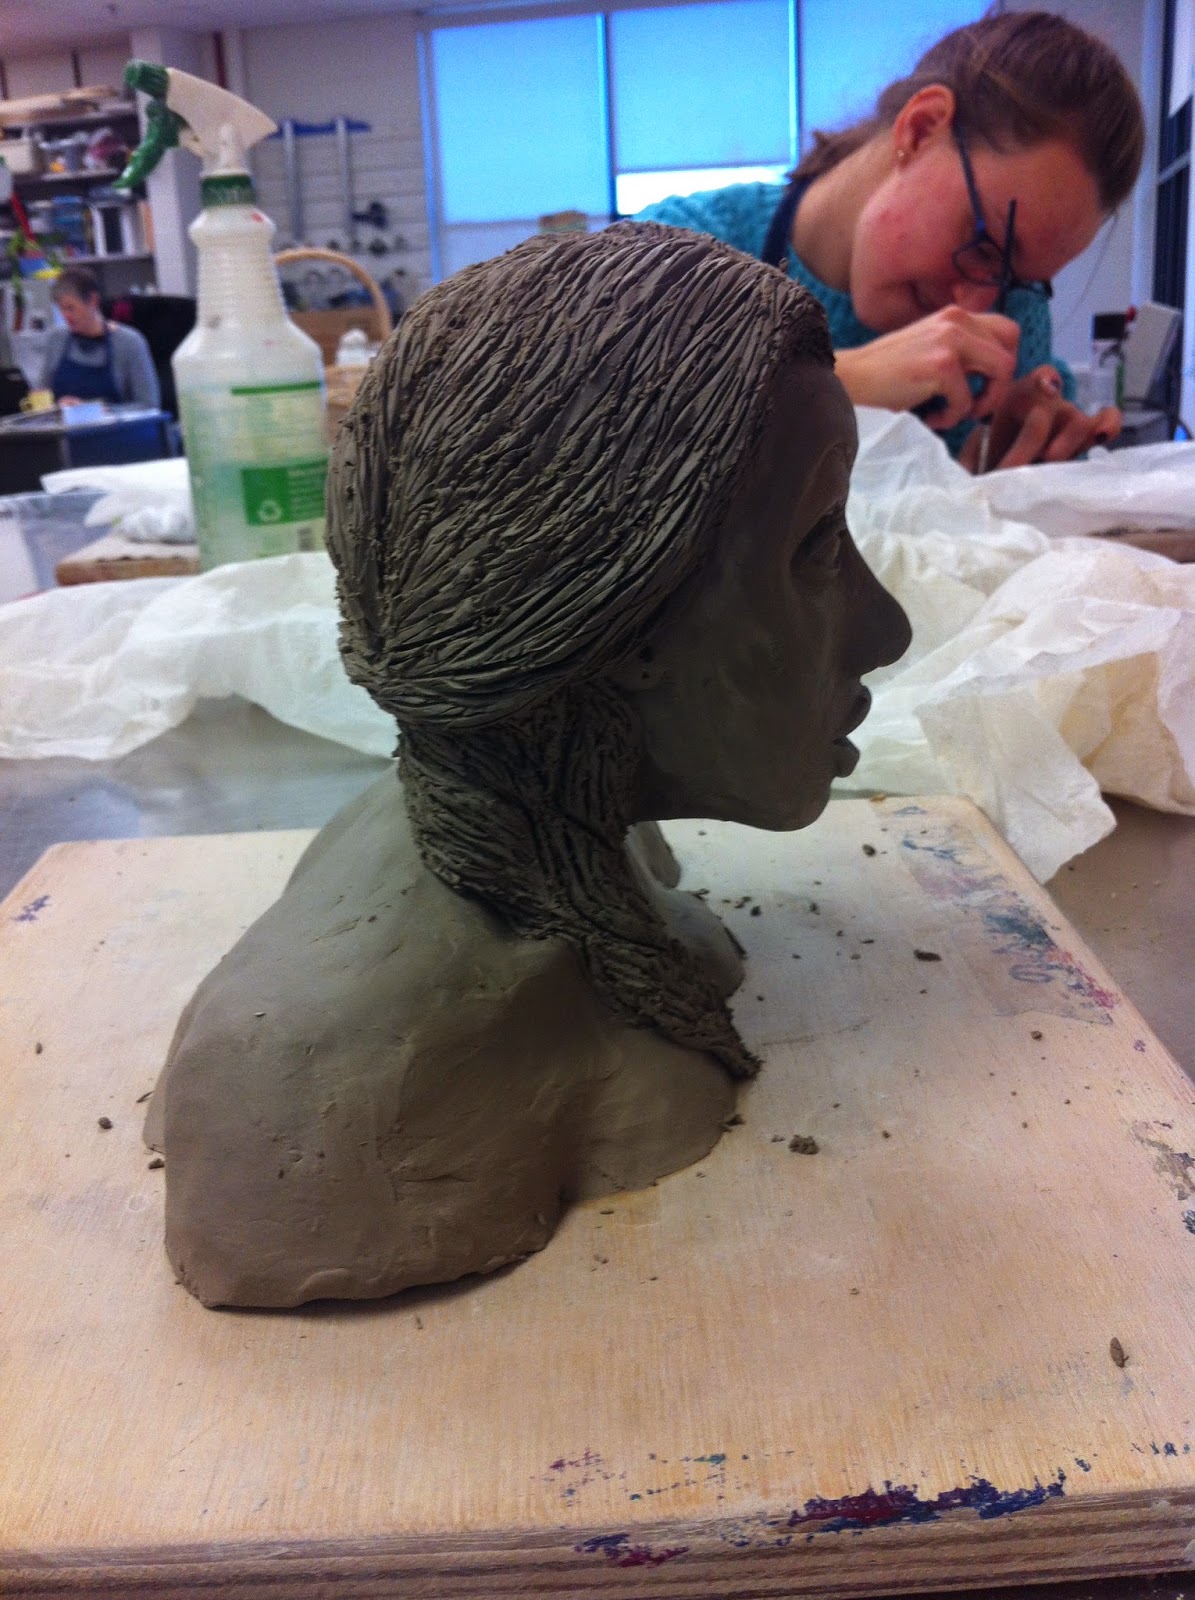
I then added some coil hair to frame her face.


 After finally feeling better about the face, I started on the chest piece.


BEWBZ :D


Jk the boobs had to go.


I added texture to her coil hair using various needle tools and I also sculpted her chest and back.


I smoothed her out with a watered down brush and set her to dry.


Unfortunately, she was warped because she dried on her back.


I finally got to start on her hand... but not without some MODELLING!


Werk it gurl.


After working for a few hours during an open studio work day on a Saturday,  I was able to sculpt her hand and lipstick. 


And Voila! I'm so excited to start glazing her!

Sunday, February 1, 2015

Breadth IV: Found Object Animals - Inspiration and Progress

        The assignment for this project was to go scavenging around campus for any organic (and even some inorganic) materials to create our very own found object animal sculpture. My inspiration for this piece was the Amazon horned frog with its interesting pointed "eyebrows" and dappled brown and green skin.


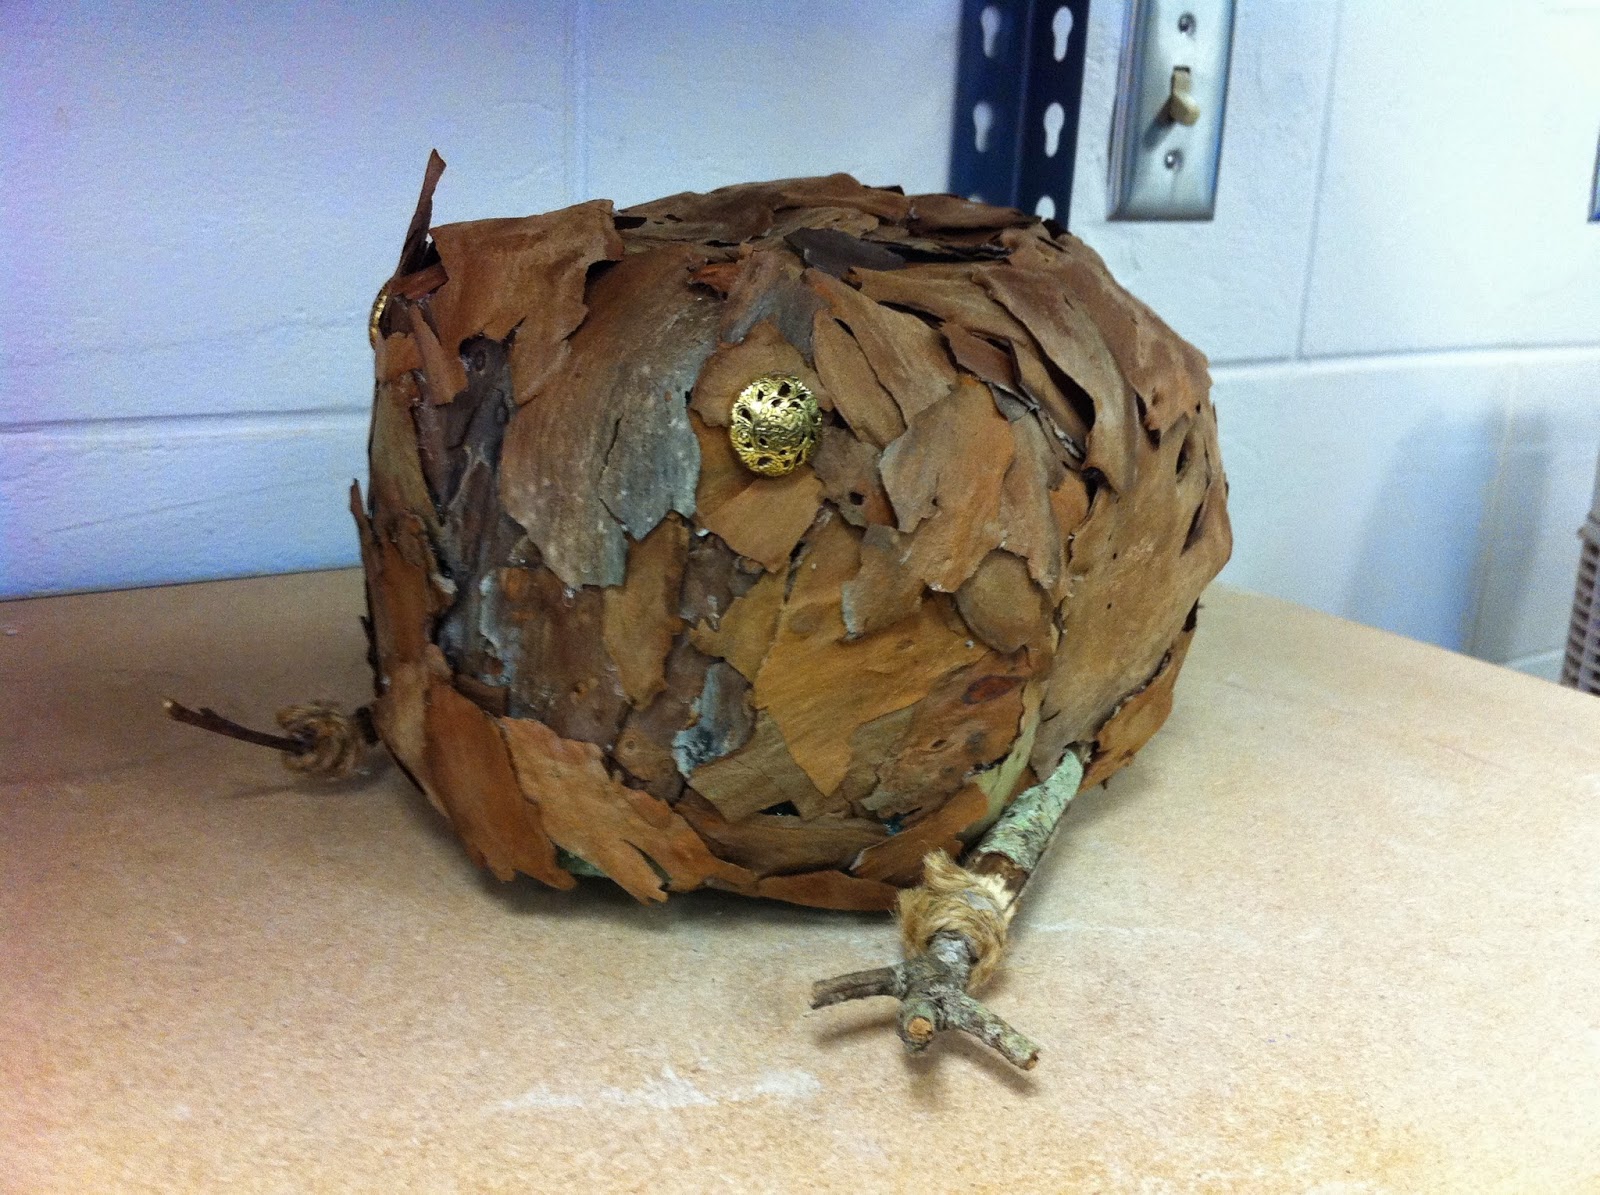
To start off, I glued together some sheets of green styrofoam and chopped it up into a general shape with a bread knife. After I felt good about the form, I started adding thin pieces of bark to maintain the frog's roundness.


I then added some sticks for the arms and legs and buttons for the eyes.


Fixed the shape up a bit...


And voila!! It went from a green blob of styrofoam to ... a brown blob of bark. Maybe not my best work... It does kinda look like a frog though!